
Short answer: to run Airbyte on your laptop, install Docker Desktop, install Airbyte's command-line tool abctl, run abctl local install, get your login with abctl local credentials, and open http://localhost:8000. The first install can take a while, because it downloads everything Airbyte needs.
Airbyte is an open-source data integration tool. It copies data from hundreds of sources (databases, SaaS apps, APIs, files) into a warehouse, a lake or a database. The self-hosted open-source version is free. Airbyte Cloud is the paid, fully managed option.
 Airbyte logo
What changed since the original post (2023): Airbyte no longer installs with
git cloneanddocker compose up. The supported way to run it locally is nowabctl. The old default login (airbyte/password) is also gone: you get your own credentials fromabctl local credentials.
What do you need before you start?
- A machine with 4 or more CPUs and at least 8 GB of memory. Airbyte can also run in a low-resource mode on 2 CPUs and 8 GB.
- Docker Desktop, installed and running in the background. Download it from docker.com.
- macOS or Linux for the commands below. Windows users can download
abctlfrom its GitHub releases page.
Step 1: Install abctl
On macOS or Linux, the quickest way is Airbyte's install script:
curl -LsfS https://get.airbyte.com | bash -
On a Mac with Homebrew, you can use this instead:
brew tap airbytehq/tap
brew install abctl
Step 2: Install and start Airbyte
abctl local install
This sets up Airbyte inside Docker on your machine. The first run can take up to 30 minutes on a slow connection. Later starts are much faster.
If your machine has fewer than 4 CPUs, run it in low-resource mode:
abctl local install --low-resource-mode
Step 3: Get your login and open Airbyte
Print your email, password and API client details:
abctl local credentials
Then open http://localhost:8000 and sign in. To set a password you'll remember:
abctl local credentials --password YourStrongPassword
Step 4: Create your first connection
A connection has two sides: a source (where data comes from) and a destination (where it goes).
- Click New connection.
- Pick a source. To test without any accounts, use the Sample Data (Faker) source. To use real data, pick a connector such as Google Analytics 4, Postgres or Stripe and follow the on-screen setup.
- Pick a destination, such as Postgres, BigQuery, Snowflake or DuckDB.
- Choose how often to sync and which streams (tables) to copy.
- Click Sync now and watch the job run.
The screenshots below show one example: pulling Google Analytics 4 data into CSV files. They come from an earlier Airbyte version, so your screens may look a little different.
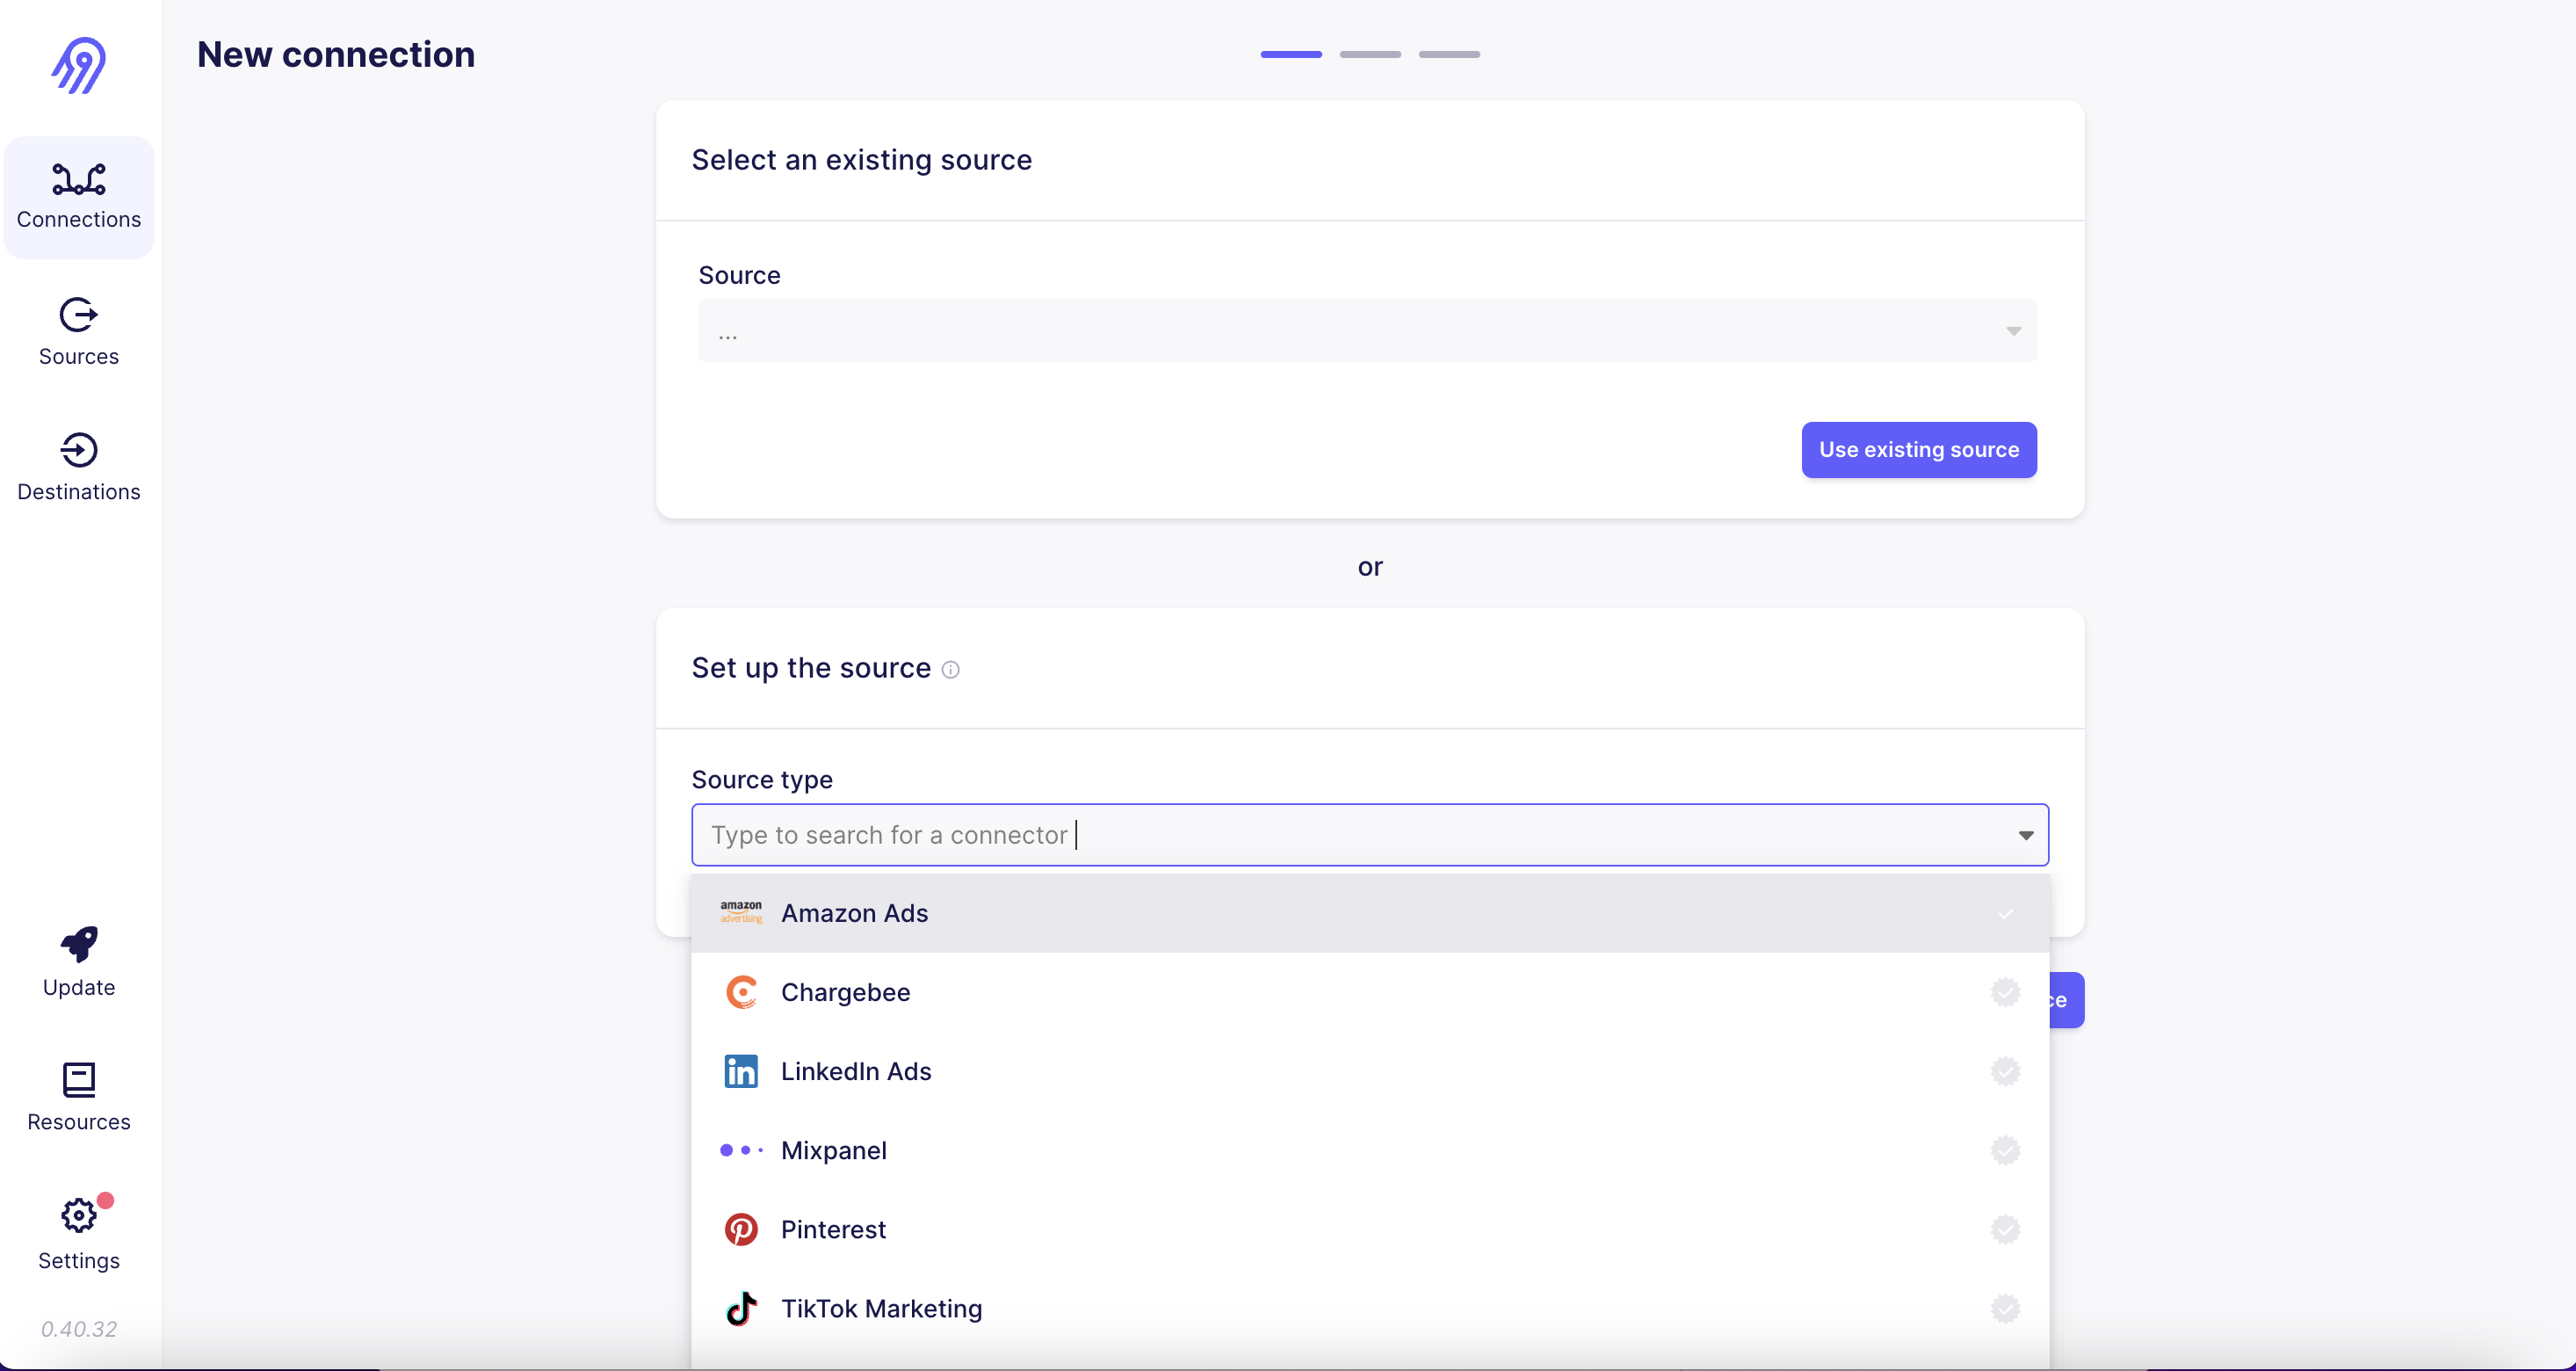 Choosing a source in Airbyte's New connection screen
Pick a source from the connector list.
Choosing a source in Airbyte's New connection screen
Pick a source from the connector list.
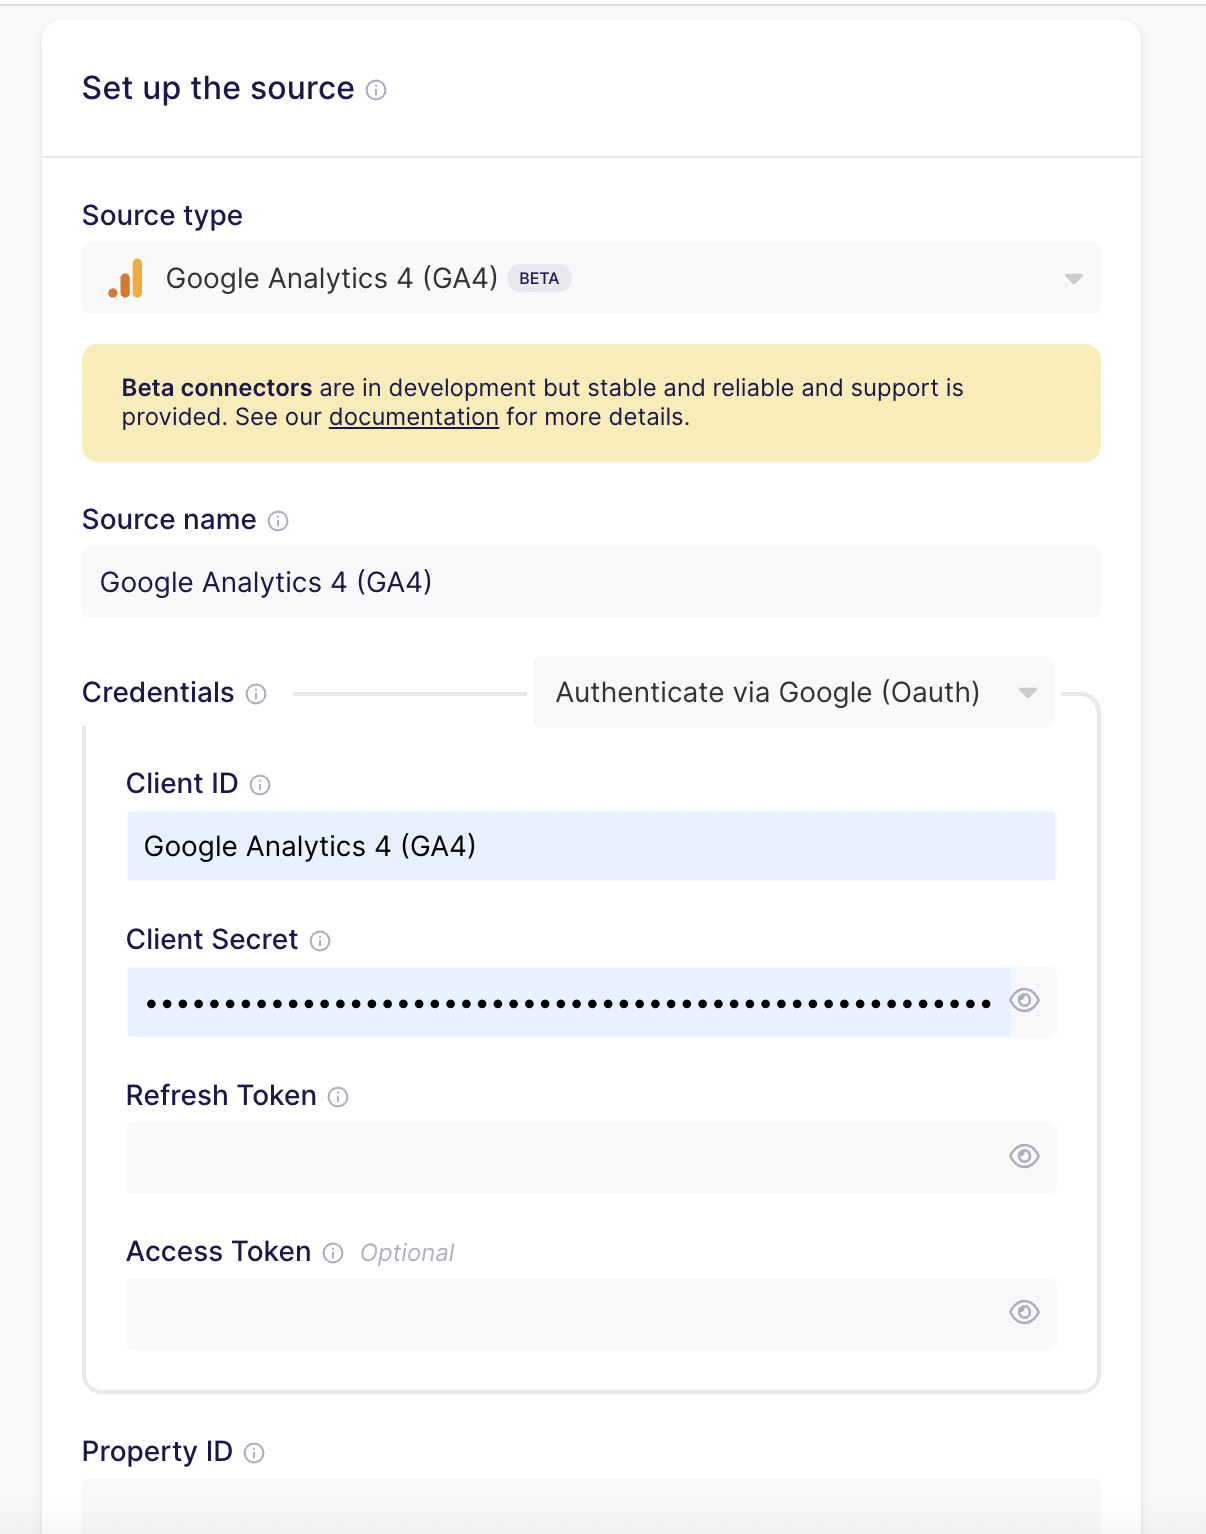 Setting up the Google Analytics 4 source in Airbyte
Fill in the source details. For Google Analytics 4 you sign in with Google and add your Property ID.
Setting up the Google Analytics 4 source in Airbyte
Fill in the source details. For Google Analytics 4 you sign in with Google and add your Property ID.
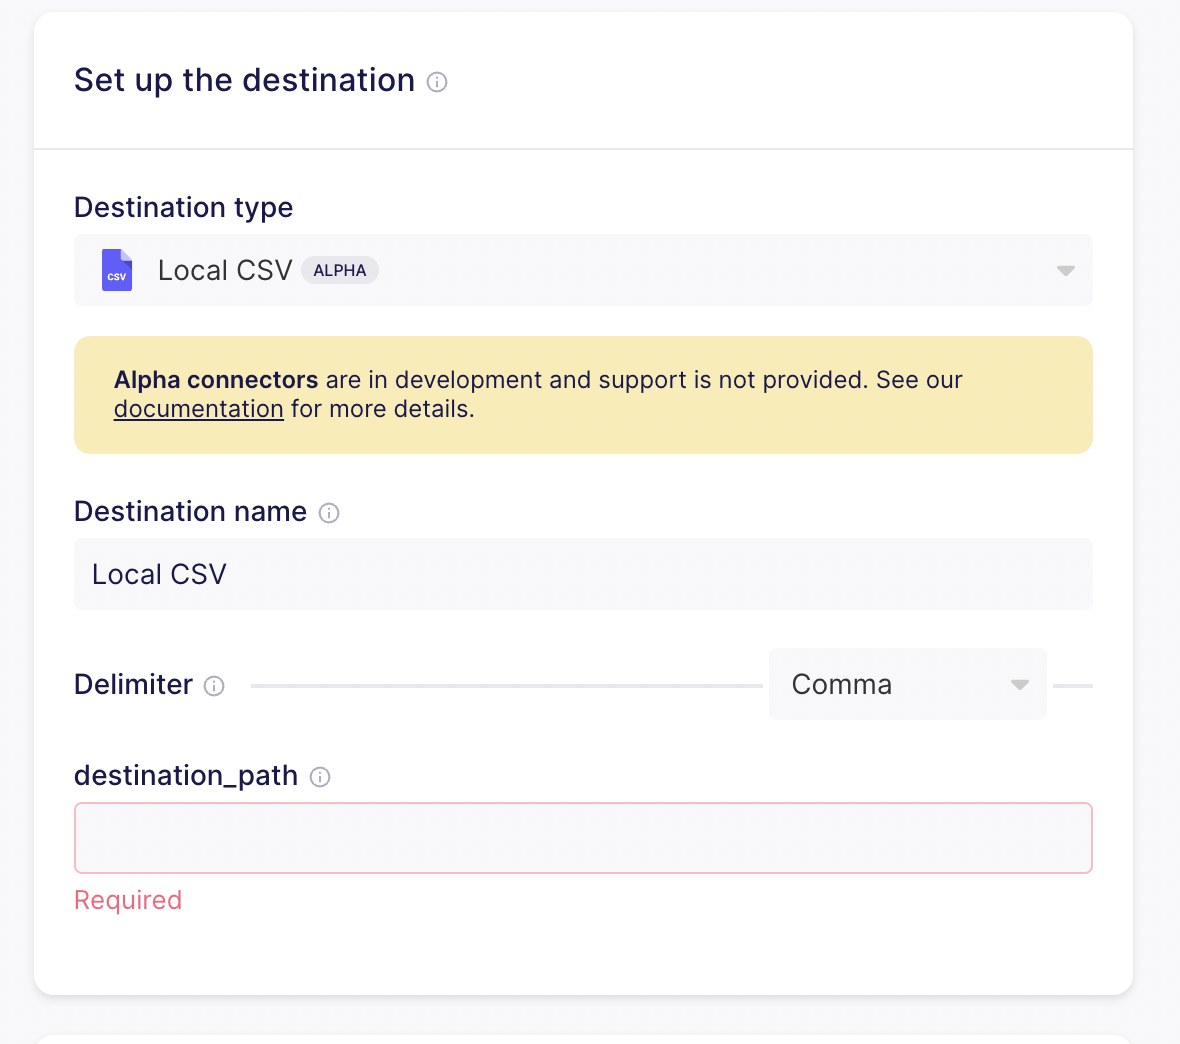 Setting up a Local CSV destination in Airbyte
Set up the destination. Local CSV is handy for a quick test.
Setting up a Local CSV destination in Airbyte
Set up the destination. Local CSV is handy for a quick test.
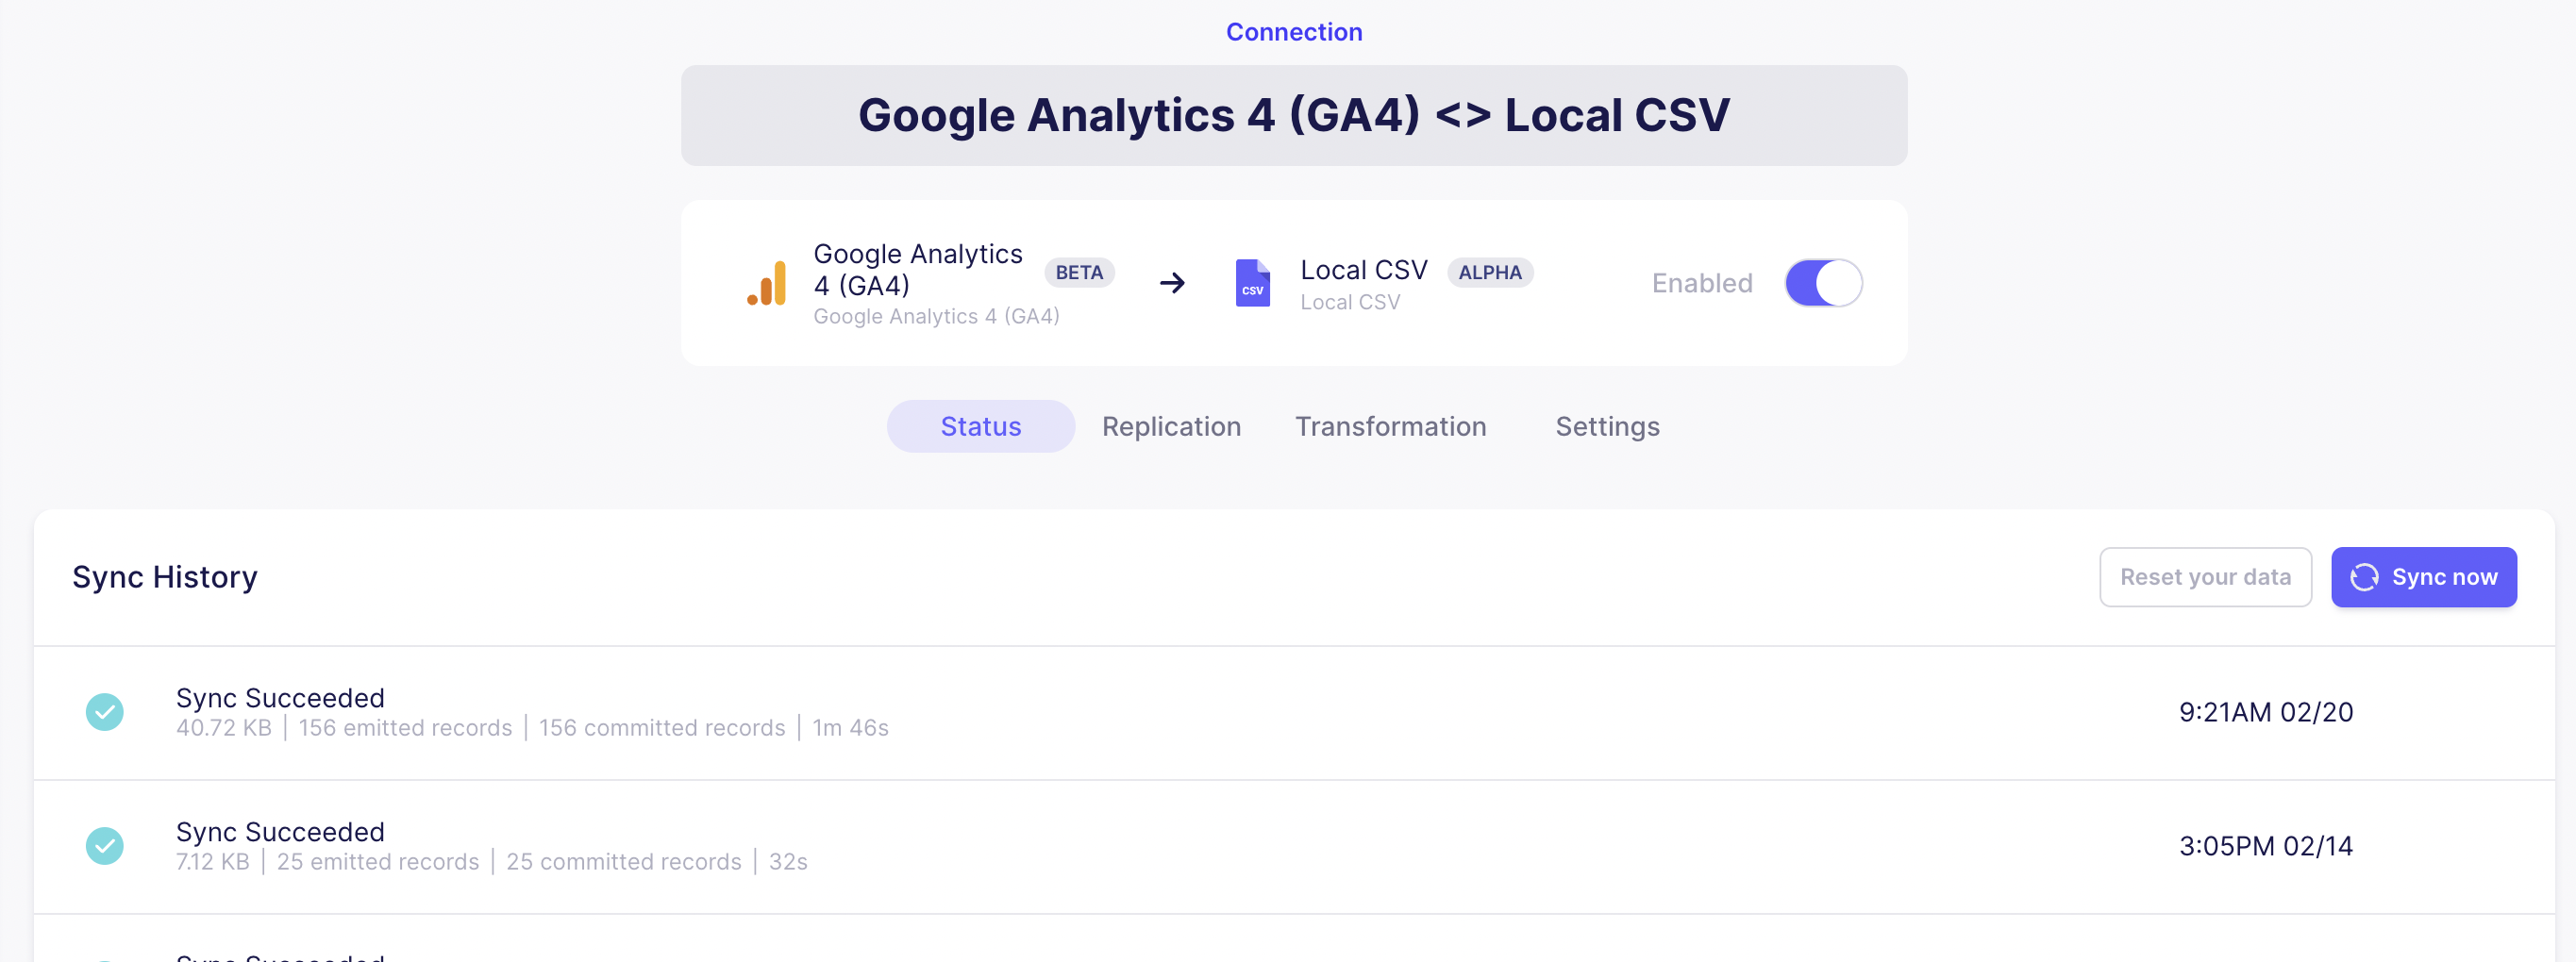 Airbyte connection page showing successful syncs
Click Sync now. The sync history shows each run and how many records it moved.
Airbyte connection page showing successful syncs
Click Sync now. The sync history shows each run and how many records it moved.
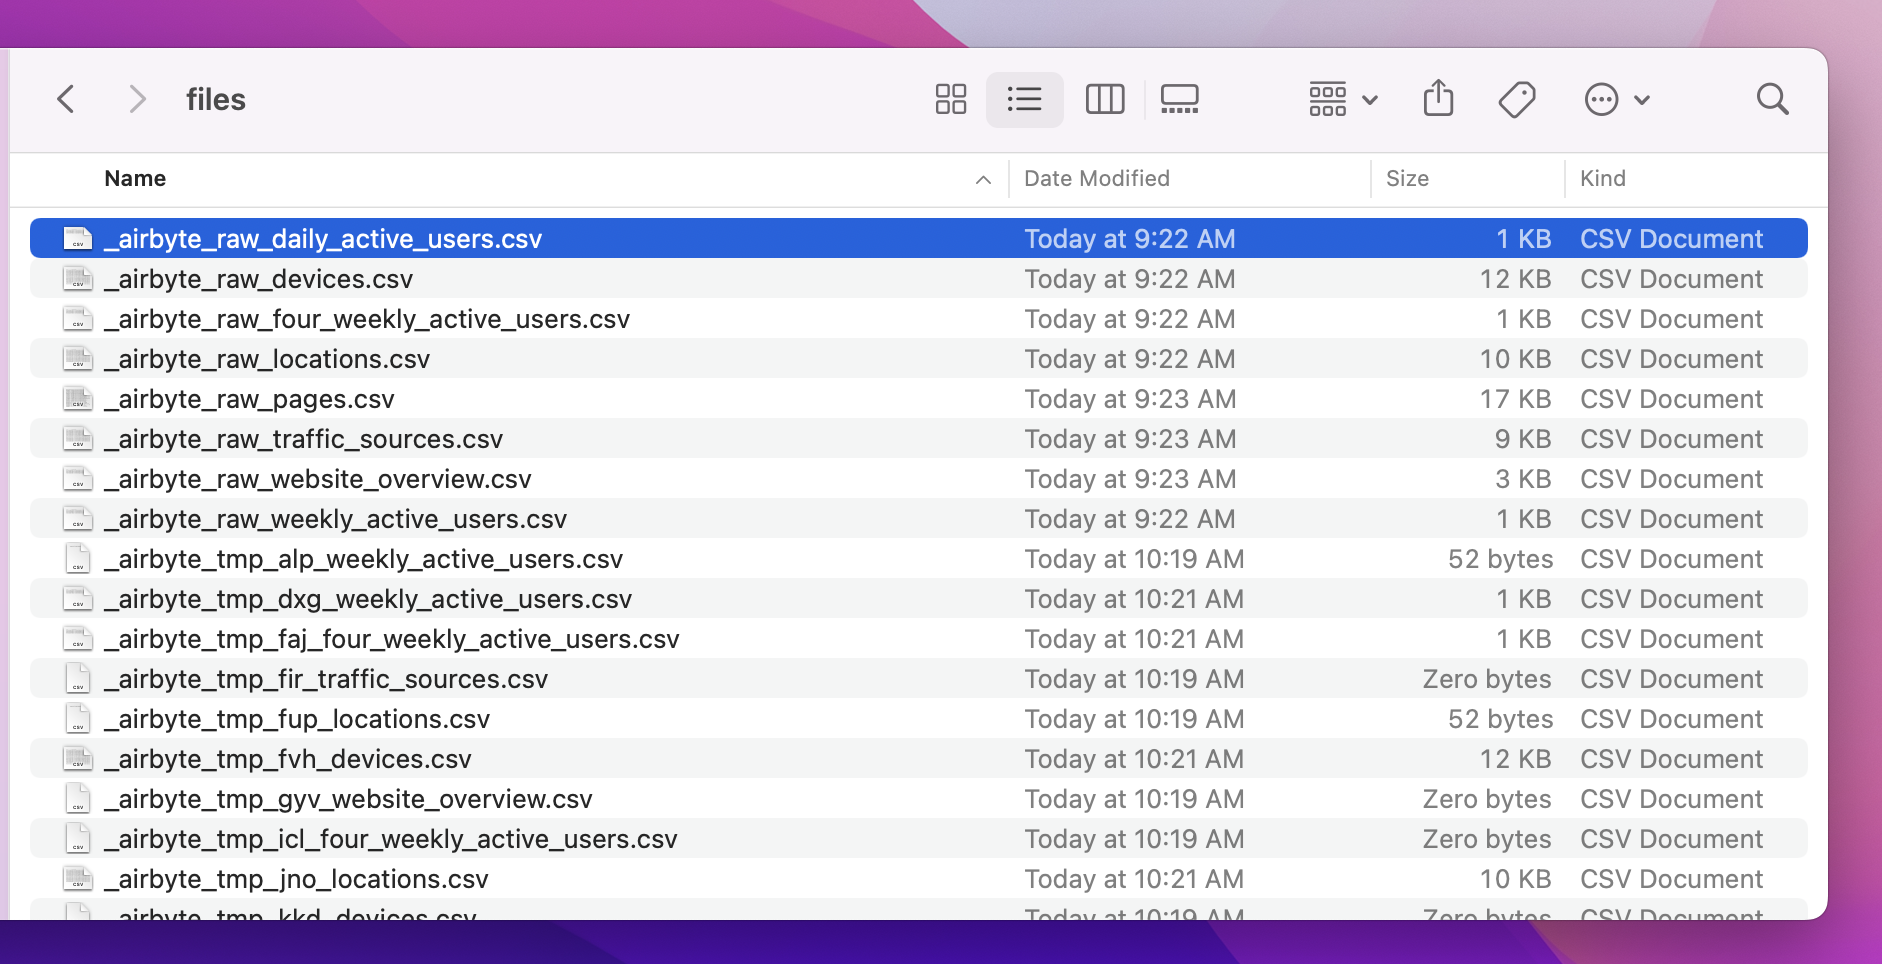 CSV files created by an Airbyte sync
A few minutes later, the extracted data shows up as CSV files.
CSV files created by an Airbyte sync
A few minutes later, the extracted data shows up as CSV files.
How do you stop or remove Airbyte?
To remove the local install:
abctl local uninstall
Common problems
- "Cannot connect to the Docker daemon": Docker Desktop isn't running. Start it and run the command again.
- The install is very slow or times out: the first install downloads several GB. Run it again on a stable connection, or use
--low-resource-modeon smaller laptops. - Something else already uses port 8000: stop that app first. Airbyte's web app runs on port 8000 by default.
FAQ
Is Airbyte free? The open-source, self-hosted version is free to use. Airbyte Cloud, the managed version, is paid.
What is the default Airbyte username and password?
There isn't a fixed one any more. Run abctl local credentials to see the email and password for your install.
Can I still install Airbyte with Docker Compose?
No. The old docker compose up method from our 2023 guide is no longer the supported way. Use abctl.
What's the difference between Airbyte and dbt? Airbyte moves data into your warehouse (the "EL" in ELT). dbt transforms it once it's there (the "T"). Many teams use both.
What to try next
Airbyte is one part of a modern data stack. Our other 5-minute guides cover the rest:
- Setup dbt Core on your machine in 5 minutes or less, to transform the data you load
- Setup Dagster in 5 minutes, to schedule and orchestrate your pipelines
- Setup Apache Superset in 5 minutes, to build dashboards on top
- Modern Data Stack on your laptop, to see how it all fits together
Want help setting up a production data stack? Talk to Newtuple.